The New Pot

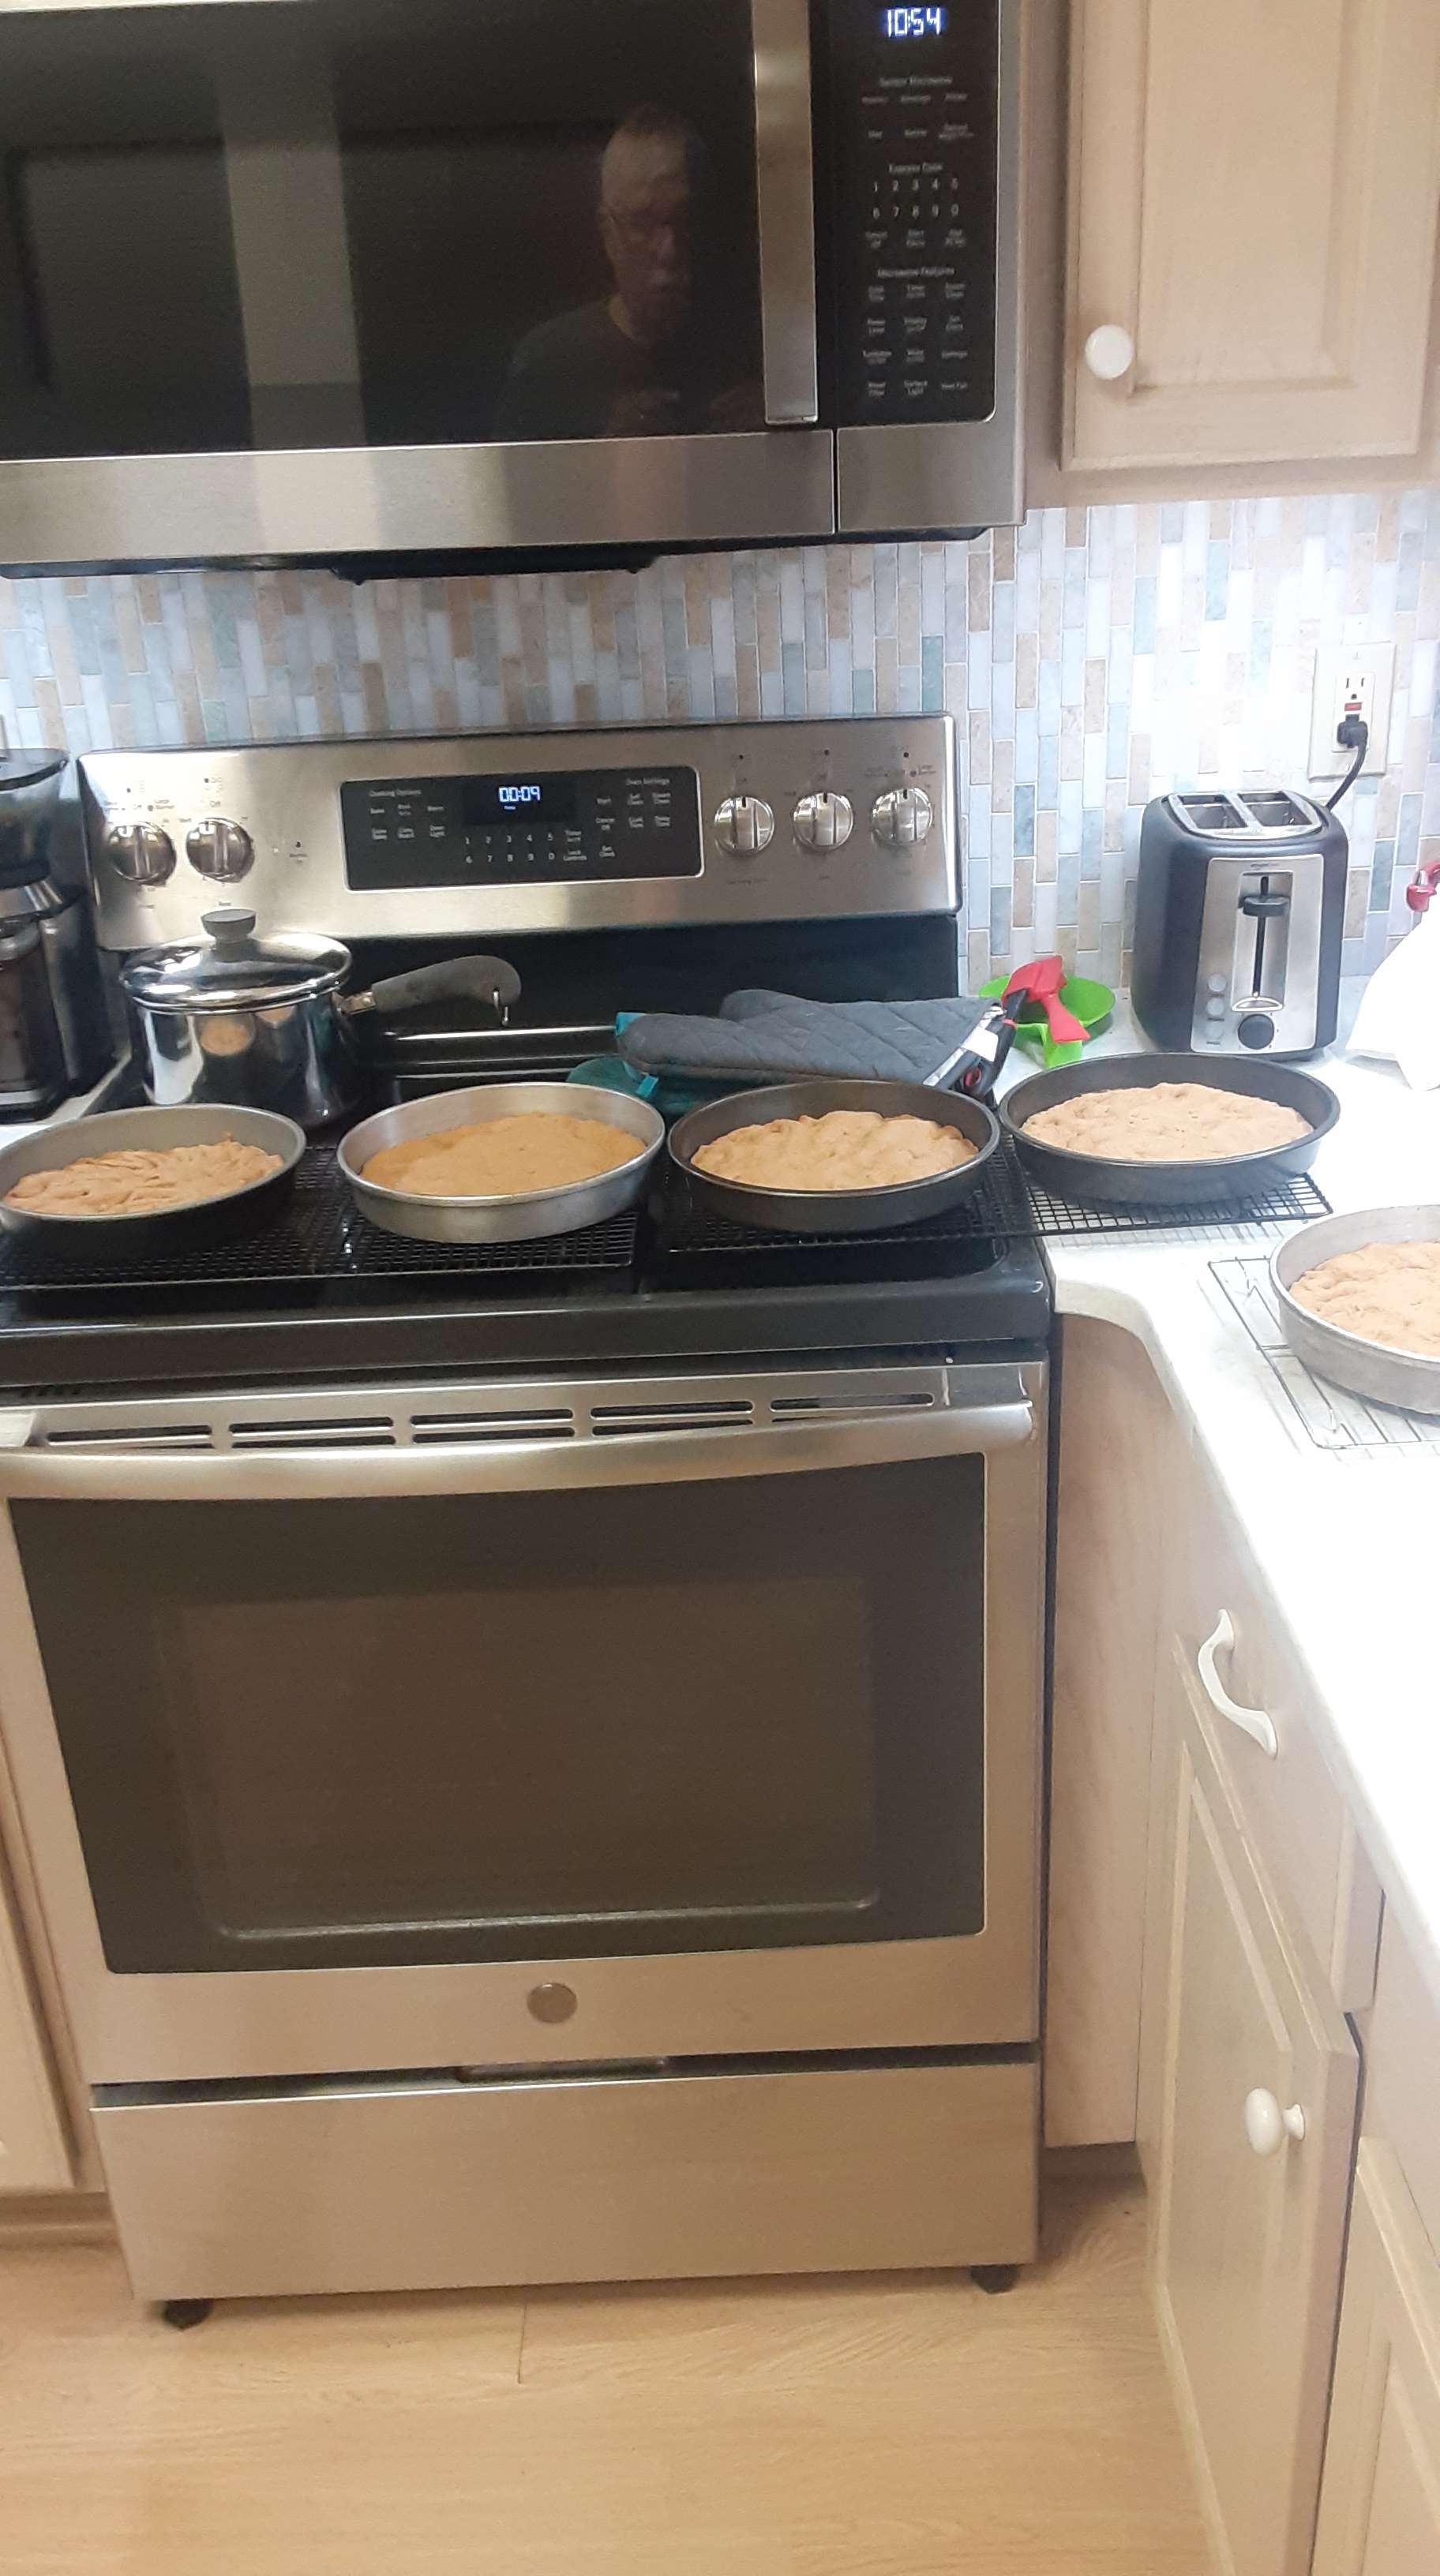
Life is certainly off to a good start this week. I cooked dinner last evening for Debbie. Her day was filled with grandma activities with one bunch and then the final solution of the car that turned into a tumble weed in a snow storm. It turned out to be the best roasted chicken I have had in awhile. Using the right equipment makes a big difference.

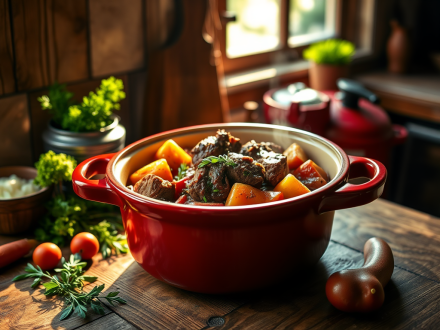
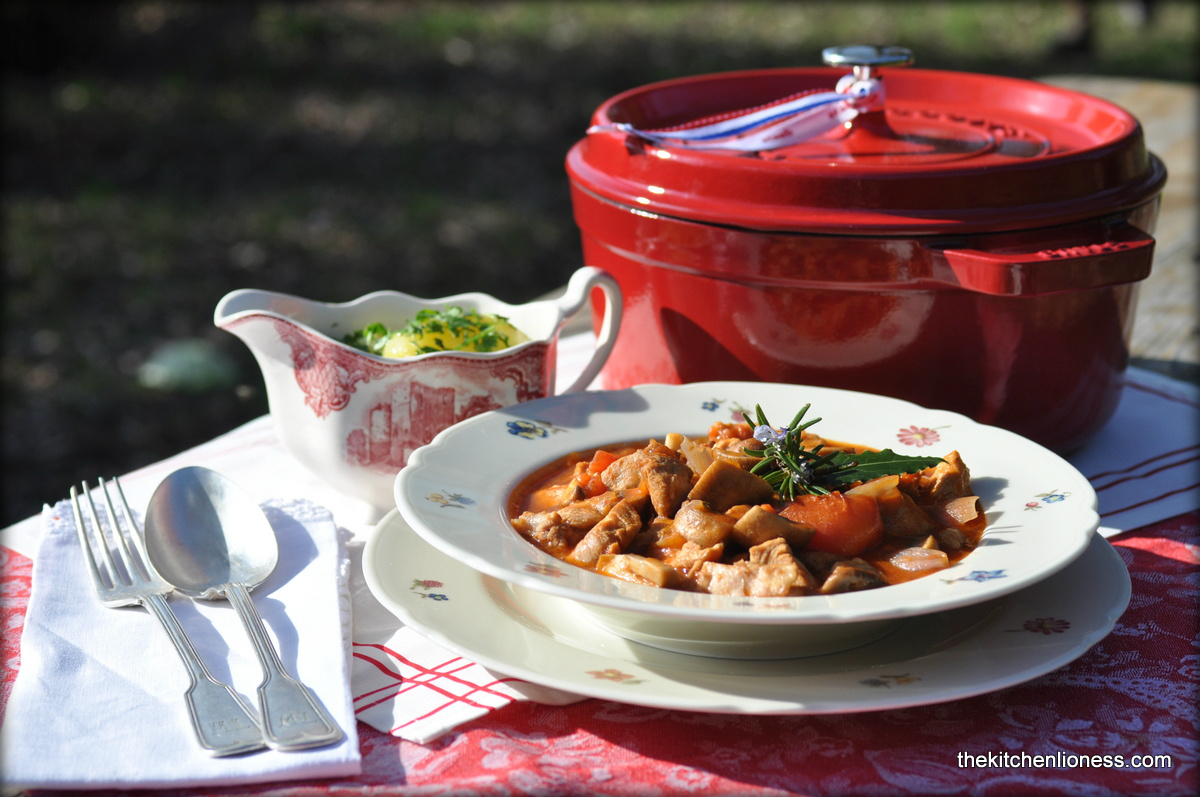
As I reported in an earlier post I purchased a new Staub cocotte from King Arthur baking. My original thought was to go all in on sourdough but I am thinking about stews and other pot recipes while we are still experiencing cooler temperatures in Ohio.

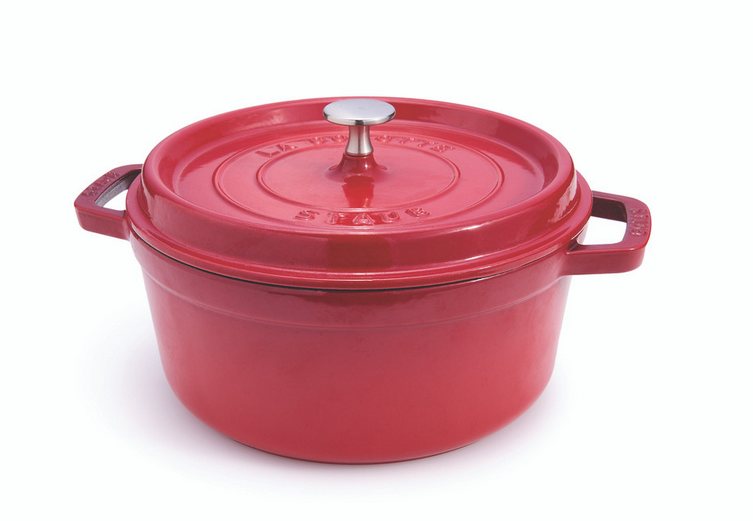
Roast Chicken in the NEW pot

INGREDIENTS

  • 1 (3 1⁄2-to 4-pound) chicken
  • Salt
  • 1 1⁄2 pounds fingerling potatoes, cut in half lengthwise if large (or quartered if larger)
  • 3 tablespoons olive oil
  • Freshly ground black pepper
  • 1 lemon, cut in half
  • 1 head of garlic, cut in half, horizontally
  • 1 red onion, peeled and quartered
  • 1 tablespoon assorted chopped fresh herbs, such as thyme and rosemary
  • 1⁄4 cup unsalted butter, at room temperature

HOW TO MAKE IT:

  1. Place the chicken on a baking sheet fitted with a wire rack. Liberally sprinkle salt all over the chicken, loosely cover the chicken with parchment paper, and refrigerate for 24 hours. — [I started and stopped the preparation of this a couple times and eventually allowed the chicken to partially thaw overnight in the fridge. In the morning I thawed it the rest of the way in a bowl of brine,]
  2. Preheat the oven to 500°F. Let the chicken come to room temperature for about 30 minutes before roasting.
  3. In a medium bowl, toss the potatoes with 2 tablespoons of the oil and a big pinch of salt and pepper. Arrange the potatoes in a single layer in the bottom of a large cast-iron cocotte. Add the lemon halves, garlic halves, and red onion quarters. Drizzle with the remaining 1 tablespoon oil. — [I skipped the lemon and added cloves of garlic.]
  4. In a small bowl, stir the herbs into the butter. [no butter here, just olive oil and Old Bay seasoning. My favorite shortcut.] Gently separate the chicken skin from the meat and rub the butter mixture under and on top of the skin and all over the thighs and breasts. Place the chicken on top of the vegetables in the cocotte [smush the potatoes to the side to get the chicken it – breast side up] and roast for 20 minutes.
  5. Decrease the oven temperature to 350°F and continue roasting for 30 to 40 minutes, until a meat thermometer reads 165°F when inserted between the thigh and the breast. [mine was actually 180 or so because of extra snuggling]
  6. Remove the chicken from the oven, tent with aluminum foil, and allow the chicken to rest for at 10 minutes before carving and serving.

As a side dish I was able to successfully replicate Debbie’s Green Beans. This signature dish of hers is only served during holiday dinners and requires two trash can sized cans of green beans. During an emergency run to a close by Target for coffee, I purchased two smaller regular sized, not-for-feeding-many-kids sized cans of Delmonti green beans. In a 3 quart pot I fried a strip of chopped bacon and a little of the red onion from above. I drained one can of beans of its water and then added both to the pot after sizzling the onion for a bit in the bacon fat. I put the lid on and let them simmer while the chicken was doing its thing in the oven and we snuggled on the couch and talked about the day.

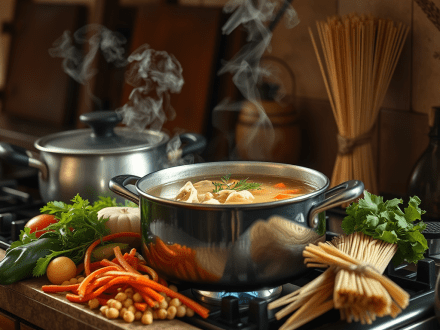
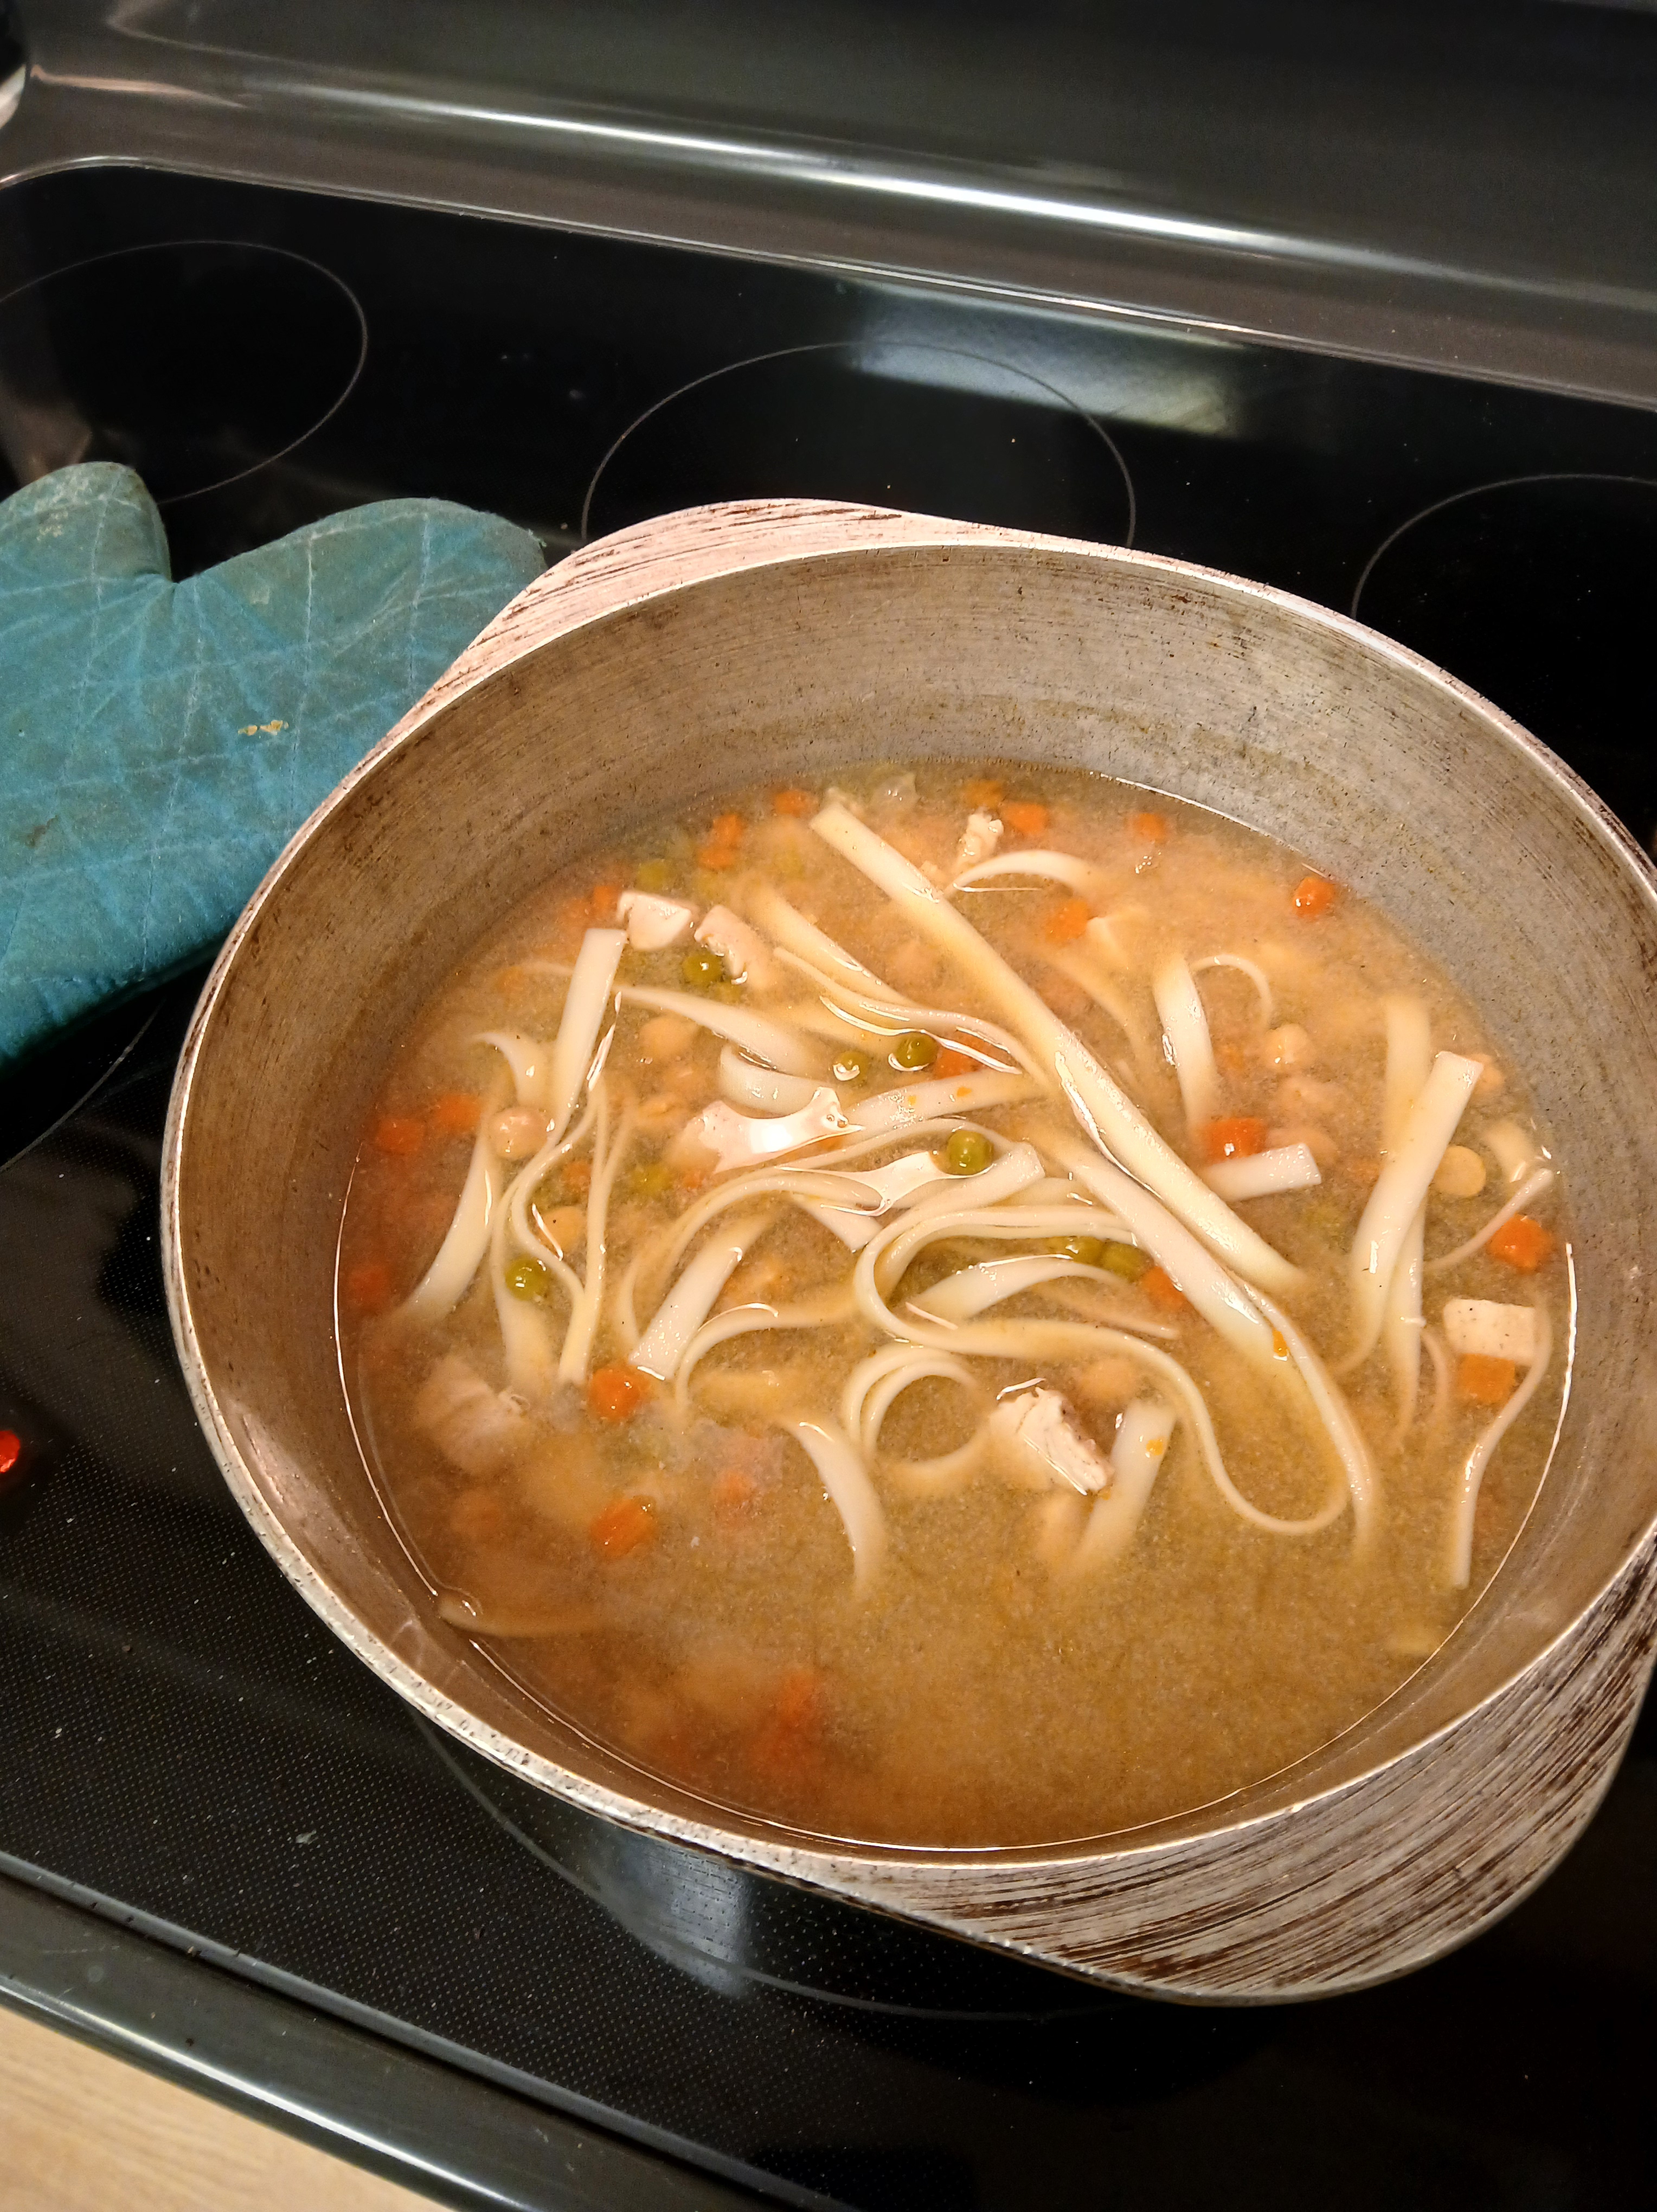
When I got up to change the oven temperature, I warmed up the giblet gravy that I had started previously and finished it with some cornstarch to thicken a bit. I am a big fan of gravy and meat broths. This version to me is heavenly.

A good sourdough would pair perfectly with this dinner. And perhaps a nice Chardonnay.

Carpe bon appetit Diem

Thoughts

I bought a cocotte from King Arthur’s baking. A few weeks ago I re-interested myself in sourdough bread and other similar recipes. Although I used my dutch oven for this in the past I felt the need to up my game.

The cocotte is red and made by Staub in France. Ou la la – but here is an intriguing thought – check out these definitions from and online dictionary and Merriam Webster’ online dictionary:

co·cotte – (/kōˈkät,kəˈkät/)

noun: cocotte; plural noun: cocottes; noun: en cocotte; plural noun: en cocottes — a small heatproof dish in which individual portions of food can be cooked and served; a Dutch oven.

And M-W

cocotte (kȯ-ˈkȯt)

noun: Definition of cocotte: as in prostitute; a woman who engages in sexual activities for money

Those are very different definitions. M-W gives examples of use in a sentence;

The skillets, cocottes, braisers, and baking dishes are all oven-safe and come in a uniform matte black finish. — Clint Davis, People.com, 15 Mar. 2025; The dishes available in the Gourmand collection include cocottes (with and without lids), mini braisers (with and without lids), oval bakers, rectangular bakers, and skillets. — Sophia Beams, Better Homes & Gardens, 27 Feb. 2025; Get some cute the itty-bitty pans, like GreenPan mini egg pan, or a tiny cocotte from the maker of our favorite Dutch ovens (these are perfect for baked eggs). — Wilder Davies, Bon Appétit, 16 July 2024; At under $100, this adorable cocotte set won’t break the bank. — Amber C. Snider, Peoplemag, 25 May 2024

Down the rabbit hole I went. One is a pot. The other is a word for the ladies that General Joe Hooker, coincidentally buried in Spring Grove Cemetery in Cincinnati, brought to his troops to be assured that his men were satisfied in every way. (You can laugh.)

From the American Heritage Dictionary – affectionately known by me as the big dic – a clue! The etymological entry writes – French – originally a baby’s word for hen.

AHA! The connection between available females and chicken pots. One of the recipe photos included with the pot shows a roasted chicken in the pot.

Off to find recipes for my new pot to christen its use, I found this one I had saved previously:

Old-Fashioned Beef Stew – By Molly O’Neill – Updated Sept. 30, 2024

Ingredients (Yield:4 servings)

  • • ¼ cup all-purpose flour
  • • ¼ teaspoon freshly ground pepper
  • • 1 pound beef stewing meat, trimmed and cut into inch cubes
  • • 5 teaspoons vegetable oil
  • • 2 tablespoons red wine vinegar
  • • 1 cup red wine
  • • 3½ cups beef broth, homemade or low-sodium canned
  • • 2 bay leaves
  • • 1 medium onion, peeled and chopped
  • • 5 medium carrots, peeled and cut into ¼-inch rounds
  • • 2 large baking potatoes, peeled and cut into ¾-inch cubes
  • • 2 teaspoons salt

Step 1 – Combine the flour and pepper in a bowl, add the beef and toss to coat well. Heat 3 teaspoons of the oil in a large pot. Add the beef a few pieces at a time; do not overcrowd. Cook, turning the pieces until beef is browned on all sides, about 5 minutes per batch; add more oil as needed between batches.

Step 2 – Remove the beef from the pot and add the vinegar and wine. Cook over medium-high heat, scraping the pan with a wooden spoon to loosen any browned bits. Add the beef, beef broth and bay leaves. Bring to a boil, then reduce to a slow simmer.

Step 3 – Cover and cook, skimming broth from time to time, until the beef is tender, about 1½ hours. Add the onions and carrots and simmer, covered, for 10 minutes. Add the potatoes and simmer until vegetables are tender, about 30 minutes more. Add broth or water if the stew is dry. Season with salt and pepper to taste. Ladle among 4 bowls and serve.

Sadly, I am out of onions and potatoes. I purposely used them up before going to Florida two weeks ago. I will go shopping very soon. Stew seems like a good idea when it is cold outside.

This is fancier than my stew but it is my new cocotte.

Carpe Diem.

Diet Ideas

Another Stuff Soup:

Winter is the time of year that I find myself scrutinizing the number on the bathroom scale when I stand on it. I have found that it matters not if I stand on it everyday or if I stand on it at random times or if I stand on it once a week, it always reports the same thing. A lot of food has gone into me and only a small amount did not stick to my skeleton.

I like to eat. I admit that. Debbie and I have been eating out more of late. Much of that is last week’s trip to Florida.

RFK jr. and the boys say I should eat more protein because I am older. His math reports 127 grams (4.5 oz.) per day. A handful of peanuts, I like roasted peanuts and I have roasted my own, contains about an ounce (28g) with about 170 kilo calories and 8g of protein.

The tasteless skinless gargantuan frozen chicken breasts I have in my freezer come in at 200 kilo calories and 38-ish grams of protein. This comment, “A standard 3.5-ounce (85g) raw breast has about 102 calories and 19g of protein” from Google’s AI made me laugh. The chicken breasts I have are much more robust than this assessment, so I cut them in half before freezing them. I have often wondered if the chickens that I have purchased were able to walk upright.

Chickpeas (46 kcal/3g) per 28g and beans (36 kcal/2.3g) of any kind are generally a good source of plant protein with the added benefit of fiber to fart with and feel full.

I detect some soup coming on. Chicken noodle soup with chickpeas and veggies. All of my home made soup recipes fall into the category of “stuff” soup, as in, find some stuff and make soup. Or empty the left over fresh veggies in the fridge into a pot and make soup. It is a remarkably easy process.

For this version:

  • 3-4 oz. Chicken breast – skinless and uninteresting
  • 12 oz. Can of peas and carrots – also uninteresting
  • 12 oz. Can of chickpeas – leftover from a hummus experiment
  • 32 oz. Box of chicken broth
  • 10 oz. Bundle of Thai wheat noodles – from another cooking caper
  • 1 tsp. cardamom – a great background spice for chickeny stuff
  • 2 chicken bullion cubes
  • salt and pepper as needed – taste it for this step (Do not burn your tongue!)

Dump the stuff – except the noodles – into a dutch oven or other suitable pot with a lid. Lid on. Thirty minutes or so to simmer after bringing to a low boil. Chop the chicken however you like it. After the thirty minutes toss in the bundle of Thai noodles (lid back on) and wait another ten minutes or so before tasting and adjusting the salt and spices. Leave the lid off and bring to a low simmering boil for twenty minutes or so.

Oranges are low in kilo calories and protein but I ate one while waiting for the soup to simmer to the end.

Lunch is ready. Crackers are good with this soup. Almost no protein in crackers.

Maybe I will stand on the scale tomorrow.

Carpe Diem.

Food Therapy (revisited)

In a long discussion with a colleague at work in our little mechanical lab classes that I help with, (I am resistant to calling myself instructor. I know not why.) Fritz described a childhood memory that he called “dried apple stack cake”. This, of course, sent me off to do an internet search for recipes while he was talking. Baking for me is fun and experimental. I found a couple recipes for apple stack cake and when he discovered that I might make one he sent a text to his cousin and she responded with a recipe from down home. (notice the Adjunct Wizard in the microwave oven. Scary.)

Dried Apple Stack Cake

1/2 cup shortening
1/2 cup sugar
1 egg, well beaten
1/3 cup molasses
1/2 cup buttermilk
3 1/2 cups flour
1/2 teaspoon soda
1/2 teaspoon salt
1 teaspoon ginger
1 teaspoon vanilla
Cooked dried apples (see below)

Preheat oven to 350 degrees. (convection)
Cream shortening and sugar; add beaten egg, molasses, buttermilk, and mix well. Sift flour, soda, salt, and ginger into a big mixing bowl. Make hole in center of dry ingredients and pour in creamed mix, stirring until well blended. Add vanilla, stir well, and roll out dough as you would for a pie crust. Cut to fit 9-inch (Here I used 5 – 9 inch pans – somehow I lost track of 7 layers.) pan or cast-iron skillet (this amount of dough will make 7 layers). (Note when I do again – Try rolling out on parchment paper and baking on cookie sheets.)
Bake layers for 10 to 12 minutes, or until lightly browned. When cool, stack layers with spiced, sweetened old-fashioned dried apples. (See recipe below.)
Spread between layers and smooth around sides and top. Sprinkle with powdered sugar, if desired, or beat egg whites into a meringue and spread on outside of cake. You may brown the meringue if desired.
Prepare cake at least a day before serving it and put in refrigerator (it will keep several days, if necessary, in a cool place.) To serve slice into very thin layers.

Cooked Dried Apples* [I found that dried apples are NOT readily available in the grocery store. At least, not in the stores I shop in regularly.]

Put 1 pound apples (dried) in heavy pan and cover with cold water. You may need to add water several times to keep apples from sticking to pan. Cook until soft enough to mash. While still hot, mash apples and add 1 cup brown sugar, 1 cup white sugar, 1 teaspoon cinnamon, ¼ teaspoon cloves, and 1 teaspoon allspice.

• Mod 1: I used applesauce as above.
• Mod 2: OOPS I made only 5 layers.

This is the picture from Fritz’s cousin. As you can readily see, I assembled my too few layers upside down. Will it taste different if assembled right side up? This is a heavy question. I sense another experiment developing. In the meantime I need to thaw a couple pork chops. (And Fritz pronounced it good.)

Carpe Diem!

Yesterday

Two days ago I tripped over this recipe from the New York Times for an apple tahini tart. I wondered what tahini could possibly be. That thought led me down the rabbit hole of reading and cooking. It is my favorite sort of hole to fall into. I can be lost for hours.

Tahini is merely toasted sesame seeds and some oil. I found a recipe and method for making my own from scratch. When I was finished the product had the consistency of peanut butter and a similar albeit milder flavor. I should back up a bit. After reading the entire NYT recipe and how to create my own tahini, I looked through my larder. Low and behold I had everything except for apples. (Apples generally do not last long in my house.) Off to the store for more on Sunday morning I went.

I made the tahini on Saturday and refrigerated it overnight. On Sunday I made the pastry and placed it in the refrigerator as directed to rest a couple hours while I went to the grocery store to find apples. IGA had Pink Lady apples just as I had hoped for when reading the recipe. (I become ecstatic when I can find all the exact ingredients to make a new recipe the first time.)

When I made the tahini sauce by mixing the tahini with the other ingredients I covered it with a piece of waxed paper to keep out any small fliers that seem to appear when I bring in tomatoes from the small garden we have. I asked Cheryl (I could feel her nearby.) where did you put the rubber bands? I could use one to put around the top of this container of sauce. I found the Rubbermaid leftover tubful of rubber bands that I had recovered from her office several months ago and carried it from my office into the kitchen. When I opened it to find a suitable elastic band I found also a note from Cheryl.

A yellow post it note was wrapped around a flash-drive with the message “Sr. Pat” and a crossed out phone number. The flash-drive contained a video file that our grandson Max had put together some time ago. That video is a collection of early Christmas videos that his Dad made twenty years ago. I could not watch it all the way through until today when I could give myself time to react to the memories.

October is tomorrow and this is the time of year when Cheryl would start agitating to decorate for Christmas and I would resist (because I did not share her enthusiasm.) She sent me a message. “Christmas will be here before you know it!” she would say (and was saying this time.) I would argue that it is ONLY October. Thanksgiving has not happened yet! Today I argued that I had to finish this tart first!

This will be the first Christmas without her. I miss this discussion. I wonder how I will react to that fact in a few weeks. I wonder how I will react to the first Christmas without her in a few months.

Yesterday I put the flash-drive aside to finish assembling the the tart. Here is the end result.

I took it to my son’s house to consume after the football game. I will keep this recipe to do again with other fillings.


Tahini Apple Tart By Andy Baraghani Published in NYT website Sept. 16, 2024

For the dough
  • 1½ cups all-purpose flour, plus more as needed
  • 1 tablespoon sugar
  • 1¼ teaspoons kosher salt (such as Diamond Crystal)
  • ¾ cup/170 grams unsalted butter, cut into small cubes, chilled
  • Ice water, as needed
For the tahini spread
  • ⅓ cup tahini
  • 3 tablespoons sugar
  • 3 tablespoons unsalted butter, at room temperature
  • 1 large egg
  • ¼ teaspoon kosher salt
Assembly and filling
  • 2 pounds crisp, tart apples such as Honeycrisp or Pink Lady (about 6 medium apples)
  • 1 tablespoon cider vinegar or lemon juice
  • 3 tablespoons sugar, plus more for sprinkling
  • 1 teaspoon ground cardamom
  • Heavy cream, for brushing
  • 1 to 2 tablespoons white sesame seeds
  • Vanilla ice cream, whipped cream or crème fraîche, for serving
  1. For the Dough: Whisk together the flour, sugar and salt in a large bowl. Dump in the cold butter and toss until coated in the flour mixture, separating any pieces that stick together. Use your fingers to smush and flatten each piece once.
  2. Drizzle ¼ cup ice water over the flour mixture. Repeatedly run your fingers through the mixture, as if rummaging through a drawer, until combined. The dough will start out looking dry then become very shaggy. Transfer to a clean work surface and use your palms to knead the dough together, forming a ball with no dry spots. You may need an additional tablespoon or two of ice water to help the dough come together, but even then it will be shaggy, not smooth or shiny.
  3. Wrap the dough with plastic wrap and use your hands to flatten it into a round disc about 1-inch thick. Chill for 2 hours or up to 3 days.
  4. Lightly dust a clean work surface with flour and roll out the dough, turning it to prevent it from sticking between rolls, into a 14-inch round. Gently gather both ends of the dough and transfer to a parchment-lined baking sheet. Refrigerate the dough while you make the sesame spread and apple filling.
  5. For the sesame spread: Whisk the tahini, sugar, butter, egg and salt together in a medium bowl until smooth. (You can make the sesame spread 5 days ahead; just bring to room temperature before using, so it spreads easily.) [Ask Cheryl where the rubber bands are located.]
  6. For the filling: Heat the oven to 375 degrees. Peel, core and thinly slice the apples (see Tip). Toss the apple slices, vinegar, sugar and the cardamom together in a large bowl until the sugar feels like it has dissolved.
  7. Remove the dough from the fridge and plop the sesame spread in the center. Use the back of a spoon to evenly distribute the sesame spread, leaving a 2-inch border. Arrange the apples on top in whatever manner you like. Fold the edges of the dough over the apples to form the crust, then brush the dough with heavy cream and sprinkle with sesame seeds and more sugar.
  8. Bake on the bottom rack for 40 to 50 minutes, rotating the pan halfway through, until the crust is deeply golden brown and the apples are tender. Let cool for 20 minutes before slicing and serving with the topping of your choice.

I often bake bread in a convection bake and I started this tart in a convection oven. I got used to doing this in our old house. The temperature is uniform in a convection oven. After the first twenty minutes or so I rotated the cookie sheet that I had put the tart onto. I also changed the oven setting to bake from convection bake. I gave it a few minutes over the allotted time. As you can see from the photo it needed perhaps a short time under the broiler to get that golden brown color. I chose not to burn it.

David and I both pronounced it excellent.

Carpe Diem.